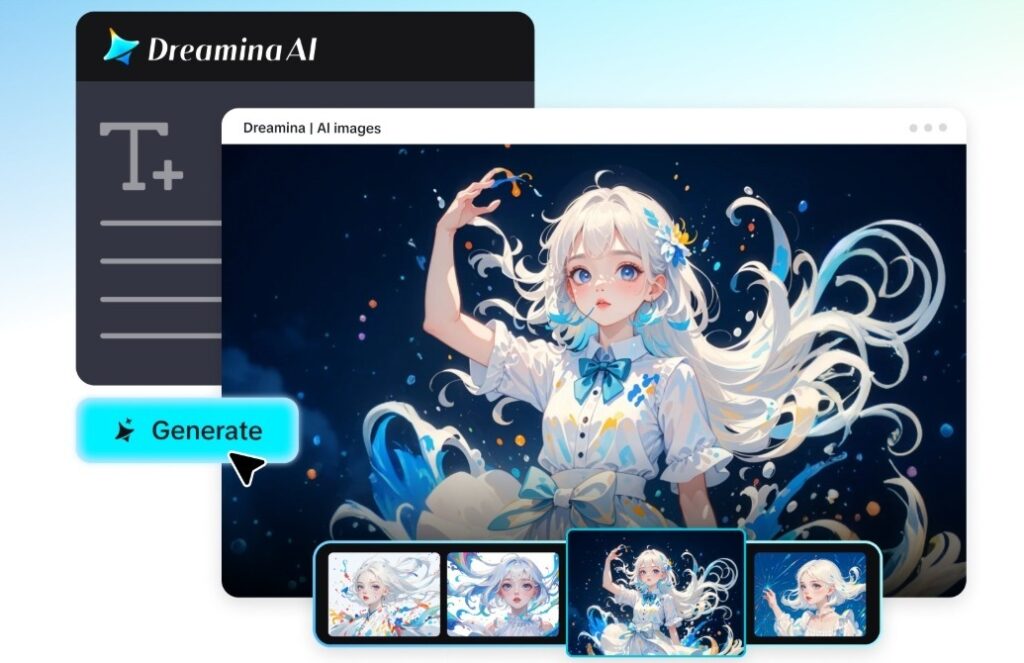
Picture sunlight pouring through a cathedral window, painting the floor in red, gold, and blue. Now picture that glow on a poster for your favorite band, your café’s new menu, or a fantasy story you’re writing. You don’t need a kiln or a roll of lead to get there. An AI image generator like Dreamina can turn a one-line idea into a luminous stained-glass design in minutes.
Let’s walk through it, from the first spark to a finished poster you can print. No glassworking skills required, only an idea and a few minutes.
Light does the heavy lifting
What makes stained glass magical isn’t only the color. It’s the thick dark outlines holding every piece in place and the light that seems to come from behind. Recreating that look means telling your tool to treat the picture like glass: bold leading, jewel tones, and a sense of glow. Once you describe those three things, almost any subject can become a window, from a fox in a forest to a rocket launch. Colors play a role too. Deep reds, cobalt blues, and amber yellows feel the most authentic, because those are the shades old workshops leaned on.
Light up your idea with Dreamina in three steps
Step 1: Write a text prompt
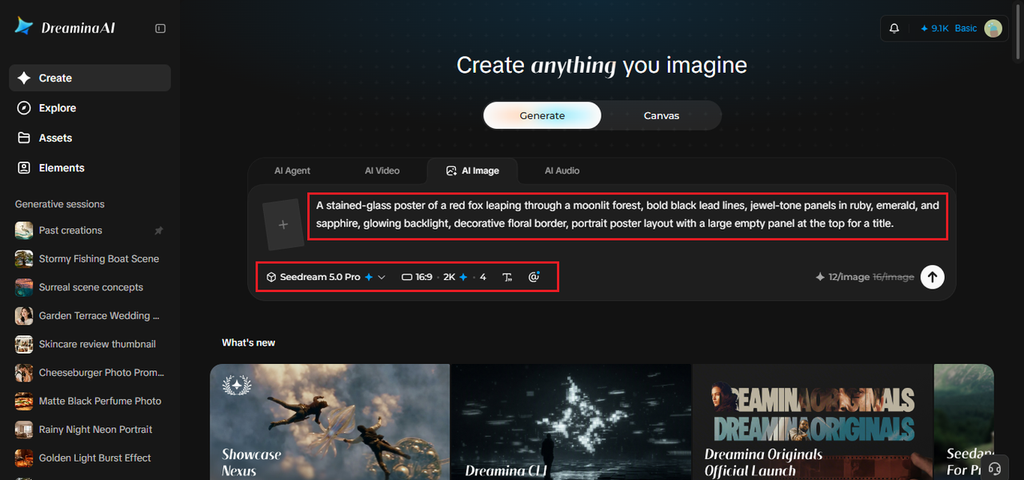
Go to Dreamina and write a thorough text prompt covering the subject, style, colors, and lighting. Try this one: “A stained-glass poster of a red fox leaping through a moonlit forest, bold black lead lines, jewel-tone panels in ruby, emerald, and sapphire, glowing backlight, decorative floral border, portrait poster layout with a large empty panel at the top for a title.” Plain, vivid wording works better than fancy jargon.
Step 2: Adjust parameters and generate
Set your parameters next. Pick a model, choose a tall aspect ratio for posters, select a size, and go with 1K for drafts or 2K for the final version. Then click Dreamina’s icon and watch the glass take shape. Drafting at 1K saves time while you experiment.
Step 3: Customize and download
Polish it with Dreamina’s AI customization options. Inpaint repaints a single panel, expand grows the border, remove clears away anything distracting, and retouch cleans up rough edges. Finally, click the Download icon to save your poster. Small touch-ups often matter more than regenerating from scratch.
What Seedream 5.0 Pro adds to leaded-glass detail
Stained glass is all about small, tidy shapes, and Seedream 5.0 Pro handles those well.
Panels you can edit one at a time
A lasso or point selection plus a short instruction changes a single piece of glass without disturbing the rest. It’s a calm way to fix one stubborn corner.
Layers for border, subject, and text
Visual separation into layers means you can adjust the border without touching the main figure. Swapping the border style later takes a few moments instead of a full redo.
Research for real-world references
Built-in online research can pull in accurate details, which comes in handy when your poster shows a real landmark, flower, or brand. It saves you from hunting through reference photos yourself.
Ideas worth turning into glass
Not sure what to depict? Start with one of these:
- A gig poster with a guitar framed by sunbursts
- A zodiac sign surrounded by symbolic panels
- A cozy café window with steaming cups
- A dragon curled around a stone tower
Pick whichever excites you. That excitement shows up in the result. Themes with strong shapes work best, since stained glass loves bold silhouettes and clear symmetry. Complicated crowd scenes tend to turn muddy.
Same fox, different century
Not every window has to look medieval. Art Nouveau glass favors flowing, plant-like curves, while modern designs go geometric and abstract.
Try naming a style in your prompt, such as a Tiffany-style lamp with its rich greens and ambers, then compare it with something strictly Gothic. Swapping the era is the quickest way to make two posters from the same idea look completely different.
Keeping the lead lines crisp
The trickiest part of a stained-glass look is keeping those dark outlines clean and consistent. Ask for “thick black outlines” and “flat colored panels” rather than gradients. If you also want a small emblem for the poster’s corner, such as a studio mark, a logo maker can handle that separately, so your main artwork stays uncluttered. A limited palette of five or six colors also helps, since too many jewel tones can make the poster feel busy.
Putting words on glass
Posters usually need a title. Dreamina can render text, but short beats long. Keep titles to a few words, describe the lettering style, something like “chunky glass letters with gold outlines,” and leave a calm panel for it. You can also write prompts in other languages if your audience isn’t English-speaking. It’s worth testing two or three title lengths before you settle.
A last look before you print
Before printing, zoom in on the borders and corners, where stray artifacts like to hide. Check that the colors feel balanced and no single panel overpowers the rest. Print a small test if you can, because backlit screens always look brighter than paper.
If something feels off, change one detail in the prompt rather than rewriting the whole thing. You’ll learn faster that way. Hang the printed copy by a window, too. It’s a fun way to see how daylight changes the colors.
Let your ideas glow
Stained glass gives plain ideas a dramatic stage, and Dreamina makes it easy to build one without any glasswork. Write a prompt, tweak a few settings, polish the details, and download your poster. Start with a single creative spark today, and you might end up with a window worth framing. Share the result with whoever inspired it and watch their reaction.