
Virtual events have become a core part of digital communication. From global fan panels and creator-led workshops to branded corporate live streams, recording these sessions allows you to extend their value far beyond the live moment. If you are wondering how to record a webinar, this comprehensive webinar recording guide will walk you through tools, setup, workflow, and practical advice tailored for beginners and aspiring content creators.
Whether you want to record live stream sessions for repurposing or build a professional archive of your online events, this guide will help you do it the right way.
Why Recording Virtual Events Matters
Going live builds connection. Recording builds longevity.
When you capture your webinar or livestream, you create opportunities far beyond the original audience. A recorded session can be shared with attendees in different time zones, repurposed into short-form social clips, expanded into blog content, or transformed into a podcast episode. For brands, recordings become training tools or onboarding materials. For creators, they become monetizable digital products.
Instead of treating virtual events as one-time experiences, recording allows you to build a content library that grows over time. Each session becomes part of a larger ecosystem — something that can be reshaped, redistributed, and reintroduced to new audiences.
Step 1: Choose the Right Webinar Recording Software
Your first decision is selecting reliable webinar recording software. The platform you choose depends on your goals, audience size, and technical comfort.
Here are some popular tools to record webinars:
- Zoom – Ideal for webinars, panels, and meetings with built-in cloud and local recording.
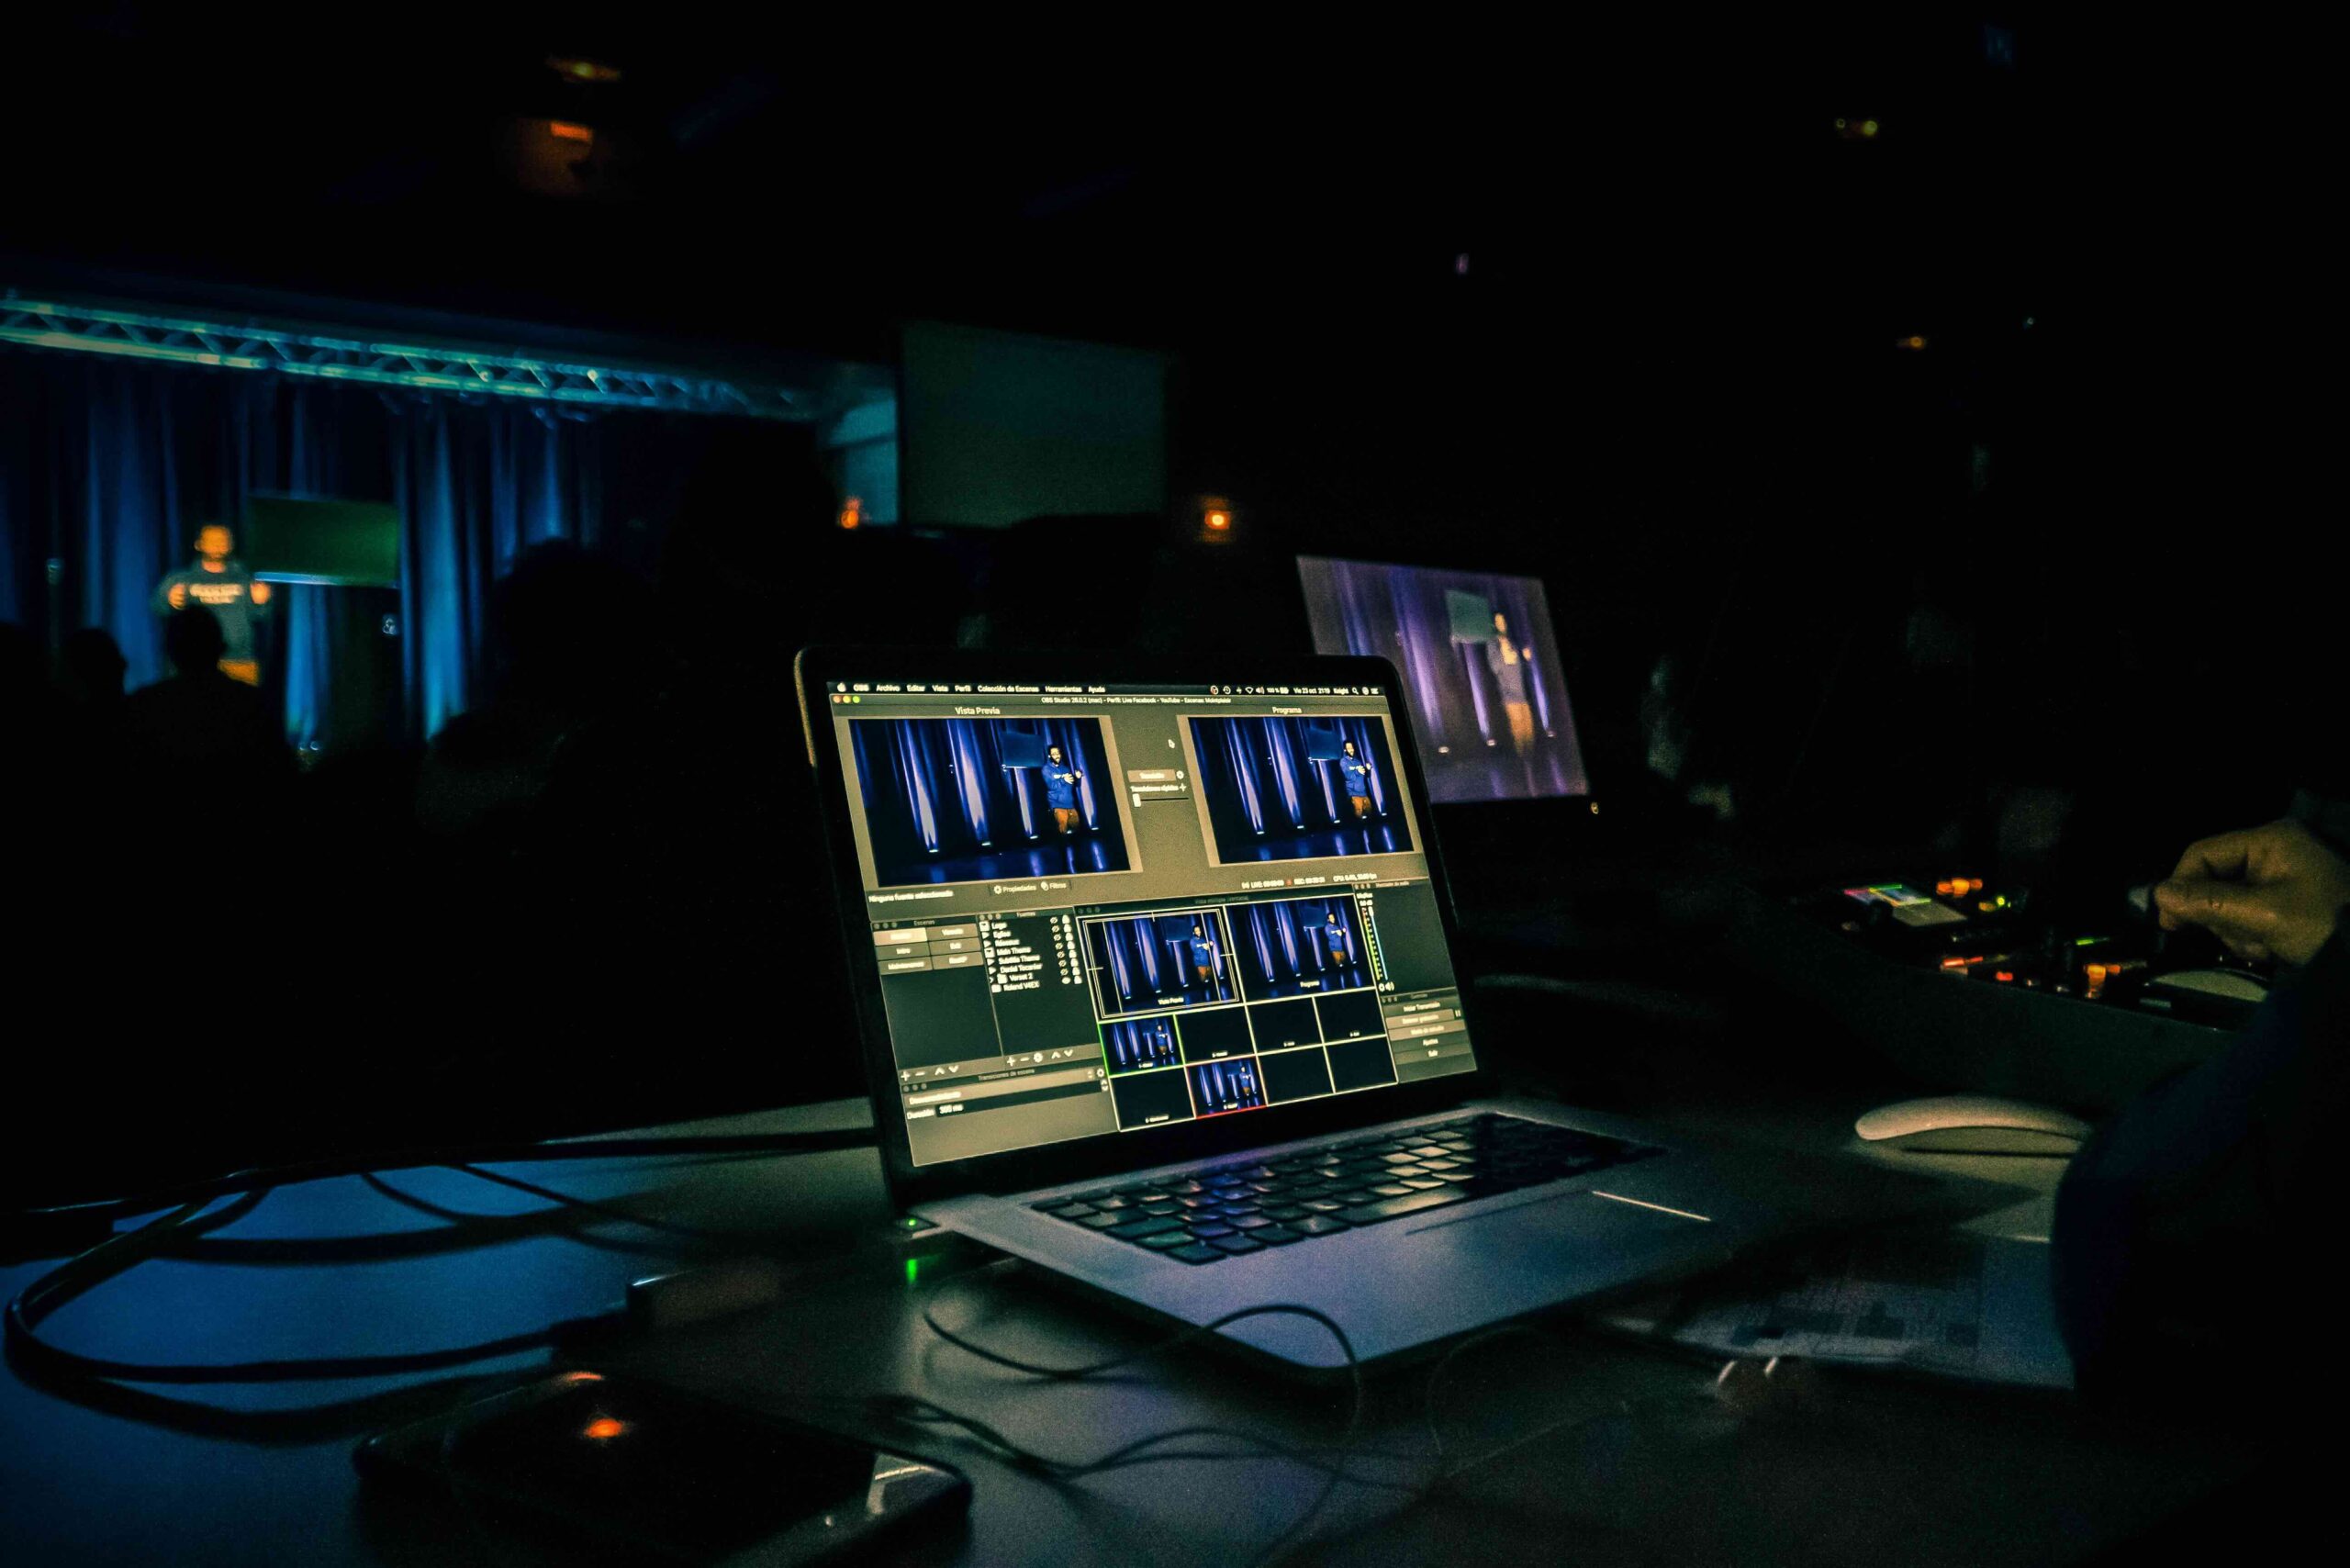
- OBS Studio – A free, powerful tool perfect for creators who want full control over video layouts and recording.
- StreamYard – Beginner-friendly for branded live streams and guest panels.
- Microsoft Teams – Suitable for corporate webinars and internal recordings.
When choosing your tool, consider:
- Recording quality (720p vs 1080p or higher)
- Cloud vs local storage
- Audio recording options (separate tracks preferred)
- Branding features (overlays, logos, lower thirds)
If you’re just starting, keep it simple. You can always upgrade as your production level grows.
Step 2: Set Up Your Recording Environment
A professional webinar recording guide is incomplete without discussing setup. Even the best software cannot fix poor audio or lighting.
1. Audio Comes First
Invest in a decent USB microphone. Clear audio is more important than ultra-HD video. Record in a quiet space and test sound levels before going live.
2. Improve Lighting
Use natural light facing you, or invest in a ring light. Avoid backlighting from windows behind you.
3. Stable Internet
A wired Ethernet connection is better than Wi-Fi. A stable connection prevents dropped frames and distorted recordings.
4. Clean Background
For fan panels or creator events, your background should reflect your brand but remain distraction-free.
This structured content creator webinar setup ensures your recording looks polished and professional.
Step 3: Get Permission and Be Culture-Aware
Recording comes with responsibility. If your event includes guest speakers, panelists, or international participants, transparency is essential.
Always inform everyone that the session is being recorded. Be aware of regional privacy regulations, and make sure participants understand how the recording will be used. If your audience spans different cultures and languages, consider adding captions afterward to increase accessibility and inclusivity.
Respect builds trust — and trust strengthens your brand.
Step 4: Test Before You Record
Even experienced hosts run test sessions. It’s a simple step that prevents avoidable mistakes.
Before your event begins, record a short sample. Check your microphone levels, confirm that screen sharing works, and verify where your file is being saved. Play the test back to make sure audio and video are synced properly. This small rehearsal can save you from discovering technical issues after the event is already over.
Consistency in testing creates confidence when you go live.
Step 5: How to Record a Webinar – Basic Workflow
If you’re unsure how to record a webinar, follow this simple workflow:
- Open your chosen webinar recording software
- Set recording destination (cloud or local)
- Adjust audio and video settings
- Click “Record” before the session begins
- Monitor recording status throughout
- Stop recording only after the event fully ends
If you want a step-by-step process to record webinar sessions smoothly, consistency is key. Use the same structure every time so nothing is forgotten.
Step 6: Recording Live Streams for Repurposing
The smartest creators don’t just upload a full replay and move on. They look at each recording as raw material.
A single livestream can be divided into short highlight clips for social media, converted into audio for podcast platforms, or expanded into written articles summarizing key insights. Educational sessions can evolve into structured online courses. Interviews can become quote graphics and promotional teasers.
Recording isn’t about archiving — it’s about multiplying content. When you start thinking this way, every live session becomes a strategic opportunity.
Step 7: Post-Production and Storage
AfAfter the event, take a few moments to refine the recording. Trimming awkward openings, smoothing audio levels, and adding a simple branded intro or outro can significantly improve the final product. Captions increase accessibility and engagement, especially for viewers watching on mute.
Organization is just as important as editing. Store files in clearly labeled folders by date and event name, and back everything up to the cloud. A well-organized archive saves time and protects your work long term.
Common Mistakes to Avoid
Even experienced hosts make errors. Avoid these:
- Forgetting to press record
- Ignoring audio quality
- Relying only on one recording source
- Skipping test sessions
- Overcomplicating the setup
Simple systems work best for beginners.
Final Thoughts
Recording webinars, panels, and live streams is no longer optional — it’s a core skill for modern creators and brands. With the right webinar recording software, a thoughtful content creator webinar setup, and consistent workflow, you can transform every virtual event into valuable long-term content.
This practical webinar recording guide gives you the foundation you need. Start simple, test often, and improve with each session. Once you master the basics of how to record a webinar, you’ll unlock new opportunities for growth, audience engagement, and monetization.


